Shear and Moment in Beams
Learning Objectives
- Determine support reactions before constructing internal-force diagrams.
- Apply a consistent sign convention for internal shear and bending moment.
- Relate distributed load, shear, and moment through differential and area relationships.
- Construct and verify shear-force and bending-moment diagrams.
- Use singularity functions to represent piecewise loading in a compact form.
Internal Shear Force
Internal shear force is the transverse resultant exposed by cutting a beam and enforcing equilibrium on either side of the cut.
Internal Bending Moment
Internal bending moment is the resultant couple exposed at a beam cut that balances the moments of external actions on the isolated segment.
Physical Support Contacts
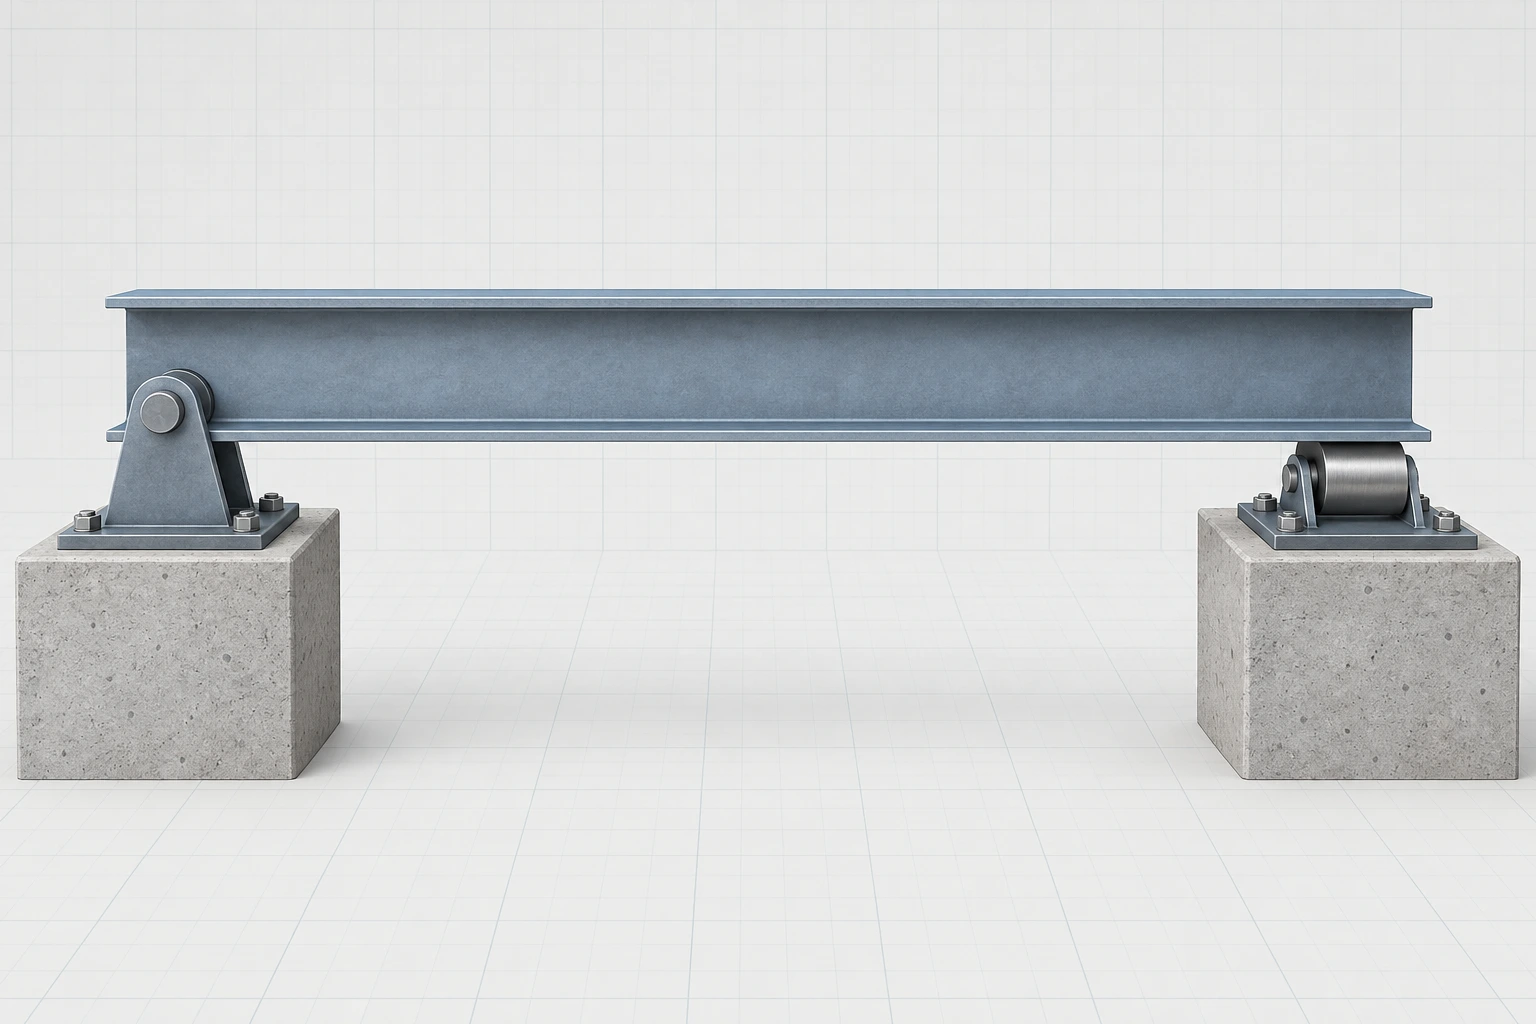
The pin and roller hardware show the two boundary contacts that anchor a simple beam; exact reaction components and values come from equilibrium, not from the image.
Interpreting Support Contacts
This contextual view separates physical bearing hardware from idealized support symbols. Use the connected pin and roller to locate the boundary contacts, then solve their reaction components with equilibrium; the raster carries no arrows, values, or sign convention.
Load-Shear-Moment Differential Relations
Differential relationships among distributed load, shear force, and bending moment.
Floor-to-Beam Load Path
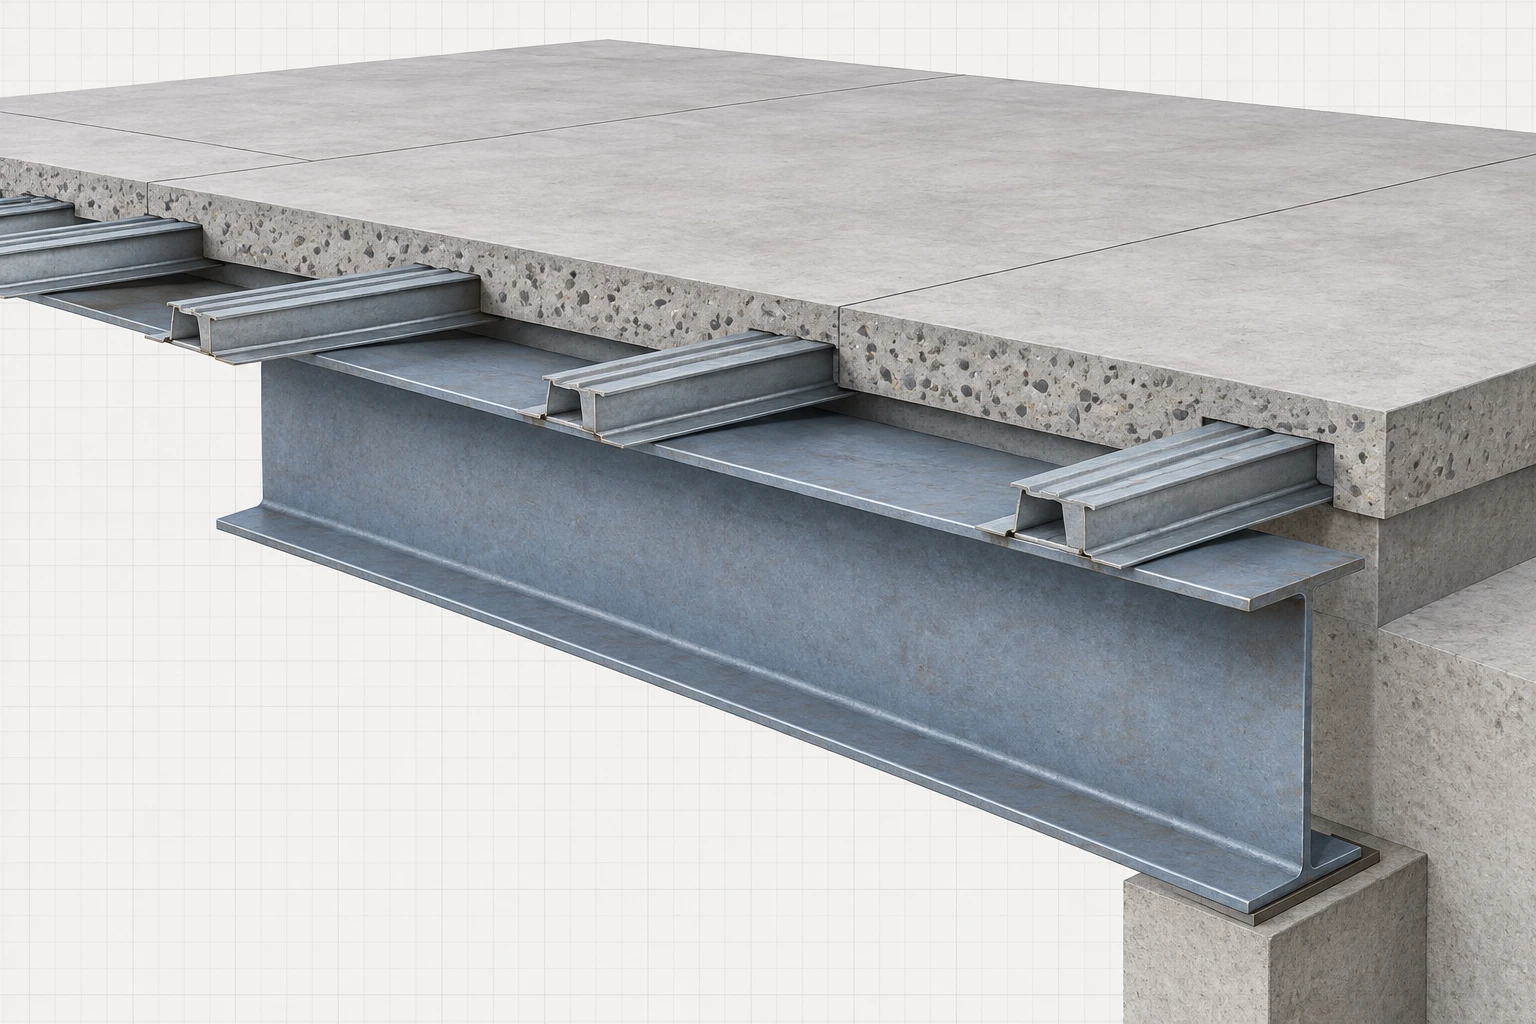
The slab and secondary members meet the main beam across a broad contact zone, providing physical context for distributed loading; no load intensity or diagram is encoded.
Interpreting Broad Floor Loading
Observe how the broad floor assembly and secondary members touch the beam across a zone rather than at one isolated point. This illustrates physical load transfer only; tributary width, load intensity, and shear or moment ordinates must be defined in the analysis.
Diagram Shape Rules
A concentrated force produces a jump in the shear diagram. A concentrated couple produces a jump in the moment diagram. Constant distributed load gives linear shear and quadratic moment. Where and remains continuous through the point, the bending moment typically has a local extremum.
Local Hanger Attachment
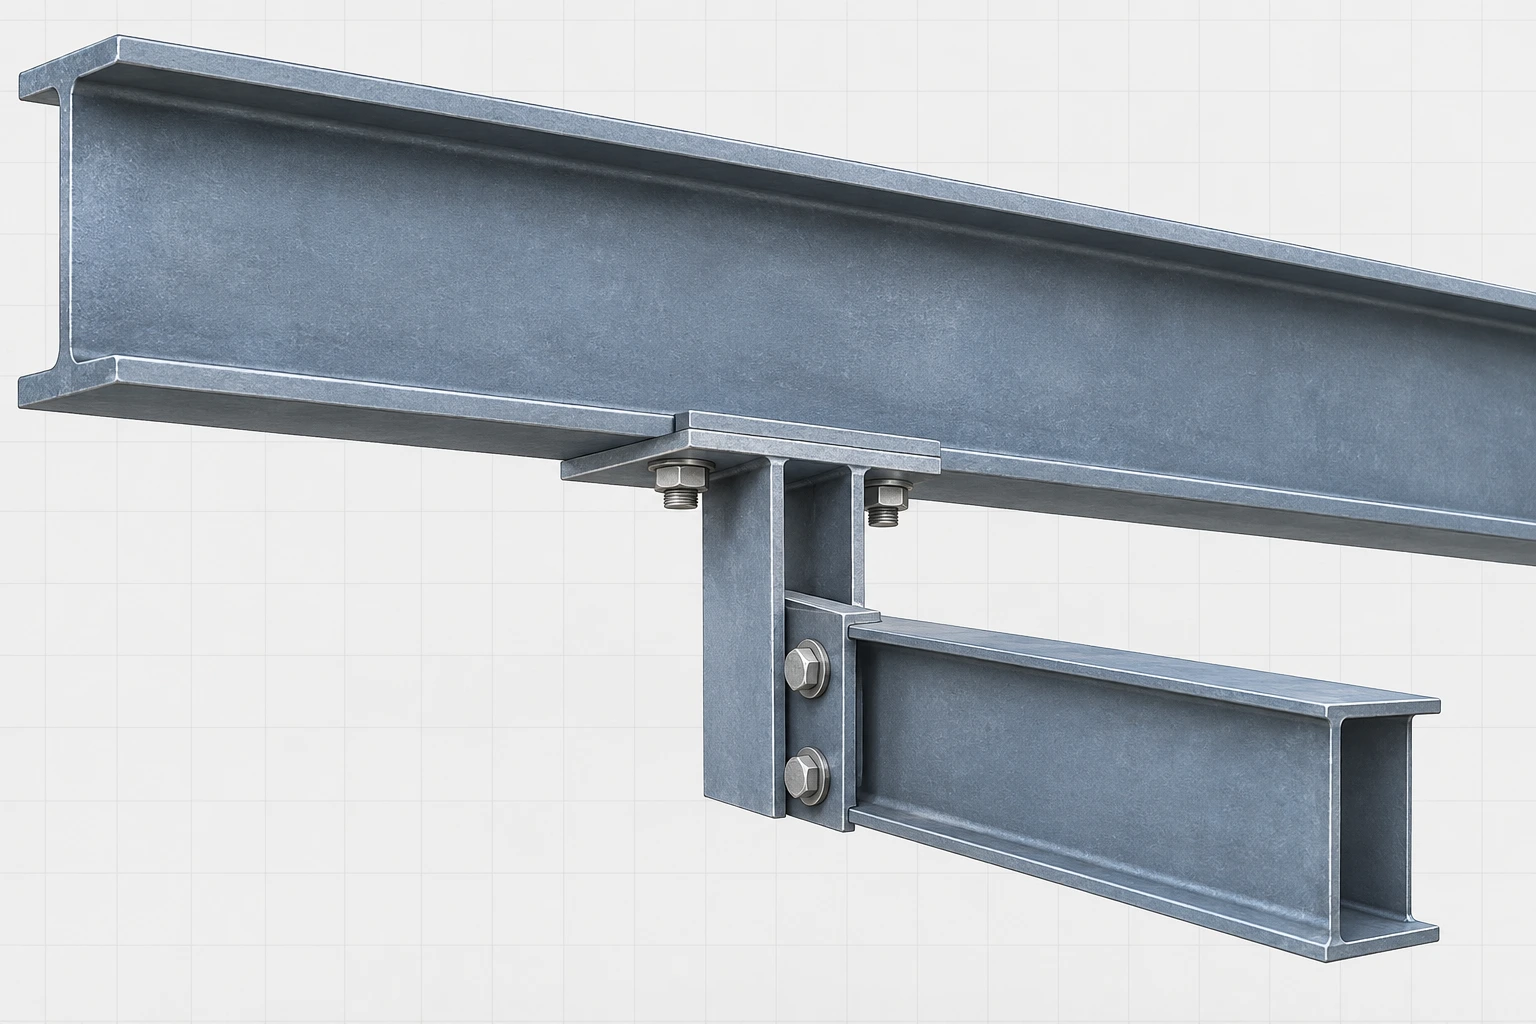
A single connected hanger concentrates an attachment at one station along the beam; use the equations and diagram rules for the resulting shear discontinuity.
Interpreting a Local Attachment
The connected hanger is a physical source of a localized action on the main member, but the raster gives no force magnitude or idealized point location. Treat any exact jump in the shear diagram as a deterministic analysis result.
Beam Section-Cut Context
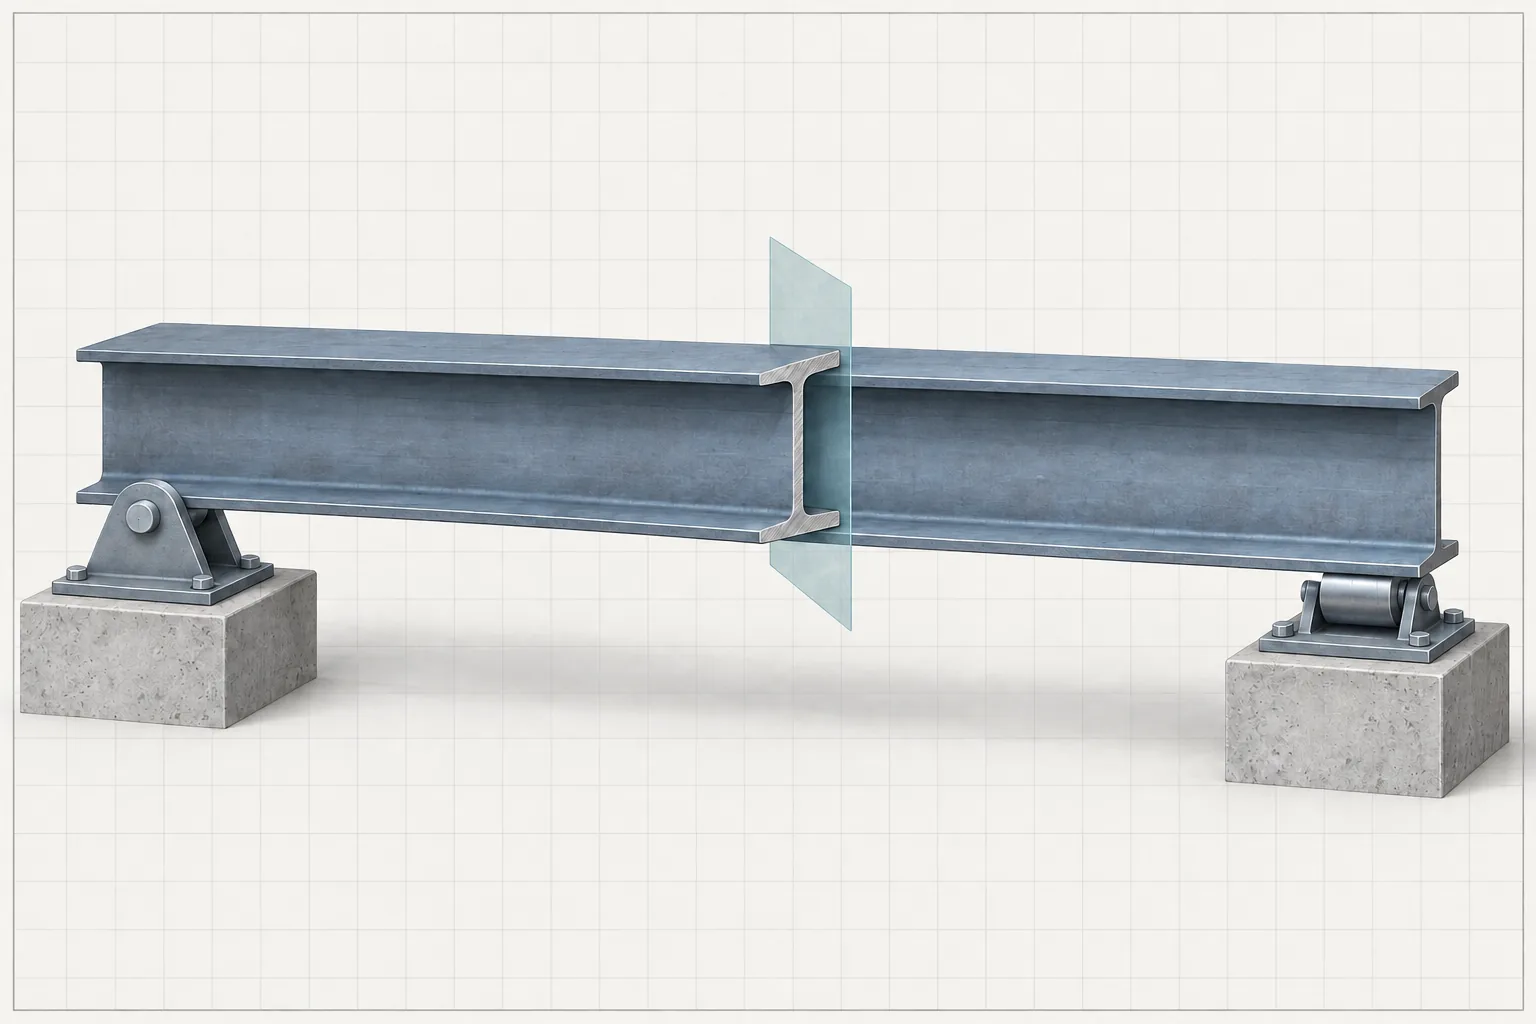
The supported beam and clean interior section plane show where internal shear and bending moment are imagined; use the deterministic simulator for exact signs, ordinates, and diagram shapes.
Reading the Section-Cut Context
The beam remains an intact supported member, while the translucent plane marks a conceptual section at an interior station. Use that plane as the physical location of the isolated segment; the image contains no load values, force arrows, sign convention, or shear/moment diagram, so rely on the simulator and equations for quantitative construction and verification.
Interactive Exploration
Move the point load along the simply supported beam and vary its magnitude. Track the reaction redistribution and the corresponding shear and moment diagrams.
Controls
RA = P(L-a)/L
RB = Pa/L
Occurs beneath the point load where the shear changes sign.
Analysis Workflow
Use the process below whenever a beam requires a full shear-force and bending-moment construction.
Start → Draw beam FBD and choose sign convention; Draw beam FBD and choose sign convention → Solve support reactions from equilibrium; Solve support reactions from equilibrium → Partition beam at load/discontinuity points; Partition beam at load/discontinuity points → Determine V(x) and M(x) or apply area rules; Determine V(x) and M(x) or apply area rules → Equilibrium, jumps, slopes, and end values consistent?; Equilibrium, jumps, slopes, and end values consistent? — Yes → Finalize SFD and BMD; Equilibrium, jumps, slopes, and end values consistent? — No → Correct reactions, signs, or segment equations; Correct reactions, signs, or segment equations → Solve support reactions from equilibrium
- Start: terminator
- Draw beam FBD and choose sign convention: process
- Solve support reactions from equilibrium: process
- Partition beam at load/discontinuity points: process
- Determine V(x) and M(x) or apply area rules: process
- Equilibrium, jumps, slopes, and end values consistent?: decision
- Correct reactions, signs, or segment equations: process
- Finalize SFD and BMD: terminator
Varied Span Zones
Different neighboring attachments along one continuous beam suggest why analysis may be partitioned at changing load conditions; the actual segments and equations remain deterministic.

Reading Varied Span Zones
The same beam passes through a slab-supported region, a clear region, and a localized attachment region. These physical changes motivate segment boundaries, but they do not supply exact load functions, discontinuity locations, or solution values.
Singularity Function
A singularity or Macaulay function activates a load term only after the coordinate passes the load location.
Macaulay Bracket Definition
Piecewise definition used in singularity-function beam equations.
Using Singularity Functions
Singularity notation can replace multiple piecewise equations with one expression and integrates naturally from load to shear, moment, slope, and deflection. Constants of integration still require the correct support and continuity conditions.
Do Not Sketch Before Solving Reactions
A visually plausible diagram built from incorrect reactions will remain internally inconsistent. Always establish global equilibrium first and then verify the completed diagrams against the total applied loading.
- Support reactions are the starting point for correct internal-force diagrams.
- and control diagram slope and curvature.
- Point forces jump shear; point couples jump moment.
- Locations where continuous shear crosses zero are important candidates for moment extrema.
- Singularity functions provide a compact alternative to many piecewise expressions.